
In most cases, you will not be changing the IP address of the Vesta itself. It's much more likely that you'll be changing the gateway or DNS server addresses to match your network. Collect the network information that you'll need: IP address if that needs to be changed, gateway address, and DNS server adress(es).
The network setting control panel in the Vesta is deliberately hidden and password protected. Since the Vesta may be connected to the Internet, it's important that bored children or malicious entities don't have access to change your configuration.
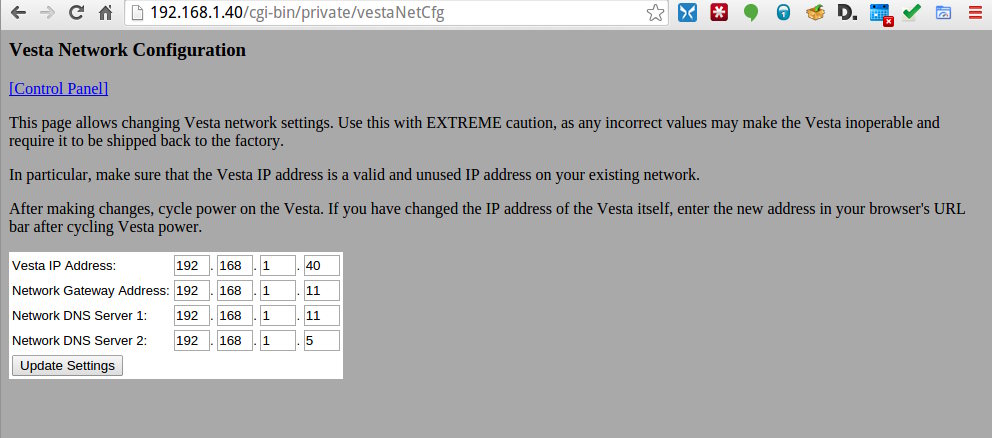
Assuming that you have the Vesta web interface, add /cgi-bin/private/vestaNetCfg to the IP address in your web browser URL bar as shown in the following screen shot. This will bring up a login window. Enter the username and password provided with your Vesta.
Enter the information that you recorded above for your original network. It is CRITICAL that this information is correct, and that it's entered correctly. Double check all values. Any mistake here can render the Vesta inoperable.
Once complete, click the 'Update Settings' button and cycle power on the Vesta.
On your PC, return the network settings to their original values. You should now be able to connect to the Vesta at its new IP address. If you haven't changed the IP address, correct gateway and DNS settings allow the Vesta to access external resources to set the time and report problems.